User can use Android device (e.g. mobile, tablet) to send/receive email.
Below is a setup example based on Samsung Tab S2 (Android 7.0) –
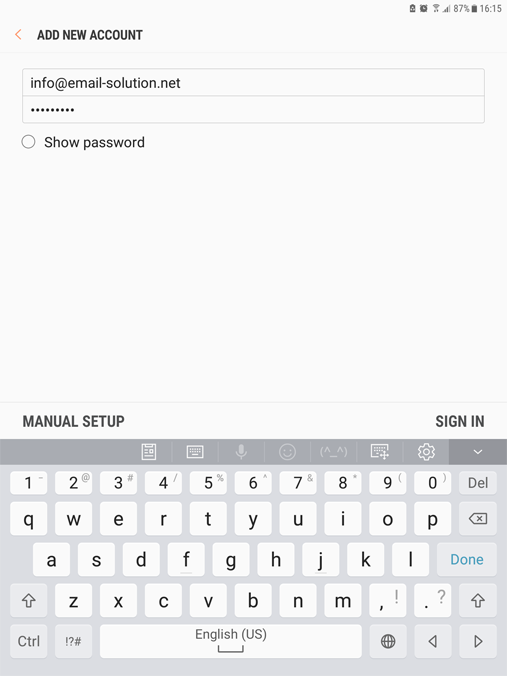
1. Open the program – Email, and input email address, password, and choose “Manual Setup”
2. Choose “POP3” or “IMAP”
POP3: email contents downloaded to your desktop, suitable for fixed location users, e.g. office user
IMAP: email contents stored on server, suitable for multi device users, e.g. mobile user
(most will choose IMAP on mobile device)

3. Input server details, user login details. (Below is an example for email-solution.net)

(please refer to account information email for email server naming)
Incoming Mail via IMAP (email contents stored on server, suitable for multi device users, e.g. mobile user)
IMAP Server : yourdomain-com.login.hk (for SSL) , or mail.yourdomain.com (for non-SSL)
IMAP Port: 993 (SSL) , or 143 (non-SSL)
or
Incoming Mail via POP3 (email contents downloaded to your desktop, suitable for fixed location users, e.g. office user)
POP3 Server : yourdomain-com.login.hk (for SSL) , or mail.yourdomain.com (for non-SSL)
POP3 Port: 995 (SSL) , or 110 (non-SSL)
——
Outgoing Mail SMTP
SMTP Server : yourdomain-com.login.hk (for SSL) , or mail.yourdomain.com (for non-SSL)
SMTP Port: 465 (SSL), or 587 (plain-text or STARTTLS)
——
SSL, TLS are encrypted connections
STARTTLS is Opportunistic TLS encrypted connection (if supported TLS encrypted connection, then use TLS. Otherwise, use plain-text connection)
Plain-text is standard (non-encrypted) connection
4. Done.