With CalDAV, you can connect SmarterMail personal calendar into MacOS.
1. At the bottom, choose “System Preferences” > Internet Accounts

2. Choose “Add Other Account”

3. Choose “CalDAV account”

4. Input
Server: mail.group.com.hk (refer to account information email)
Username: your email address
Password : your email password
Sign In

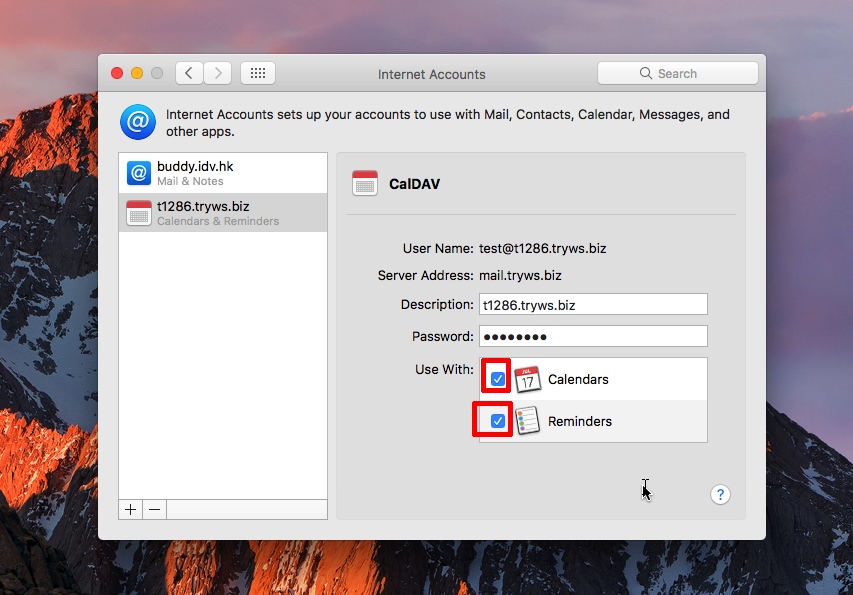
5. Enable “Calendars” and “Reminders”
Note:
After adding CalDAV inside MacOS, users need to “choose” SmarterMail Calendar and then add events, then it can synchronize with SmarterMail Calendar.

If users want to set the default account, you may
Open the Calendar, at the top-left corner, choose “Preferences”, “General” , and choose “Default Calendar”

Done.