The following is based on MacOS Sierra 10.12 as an example –
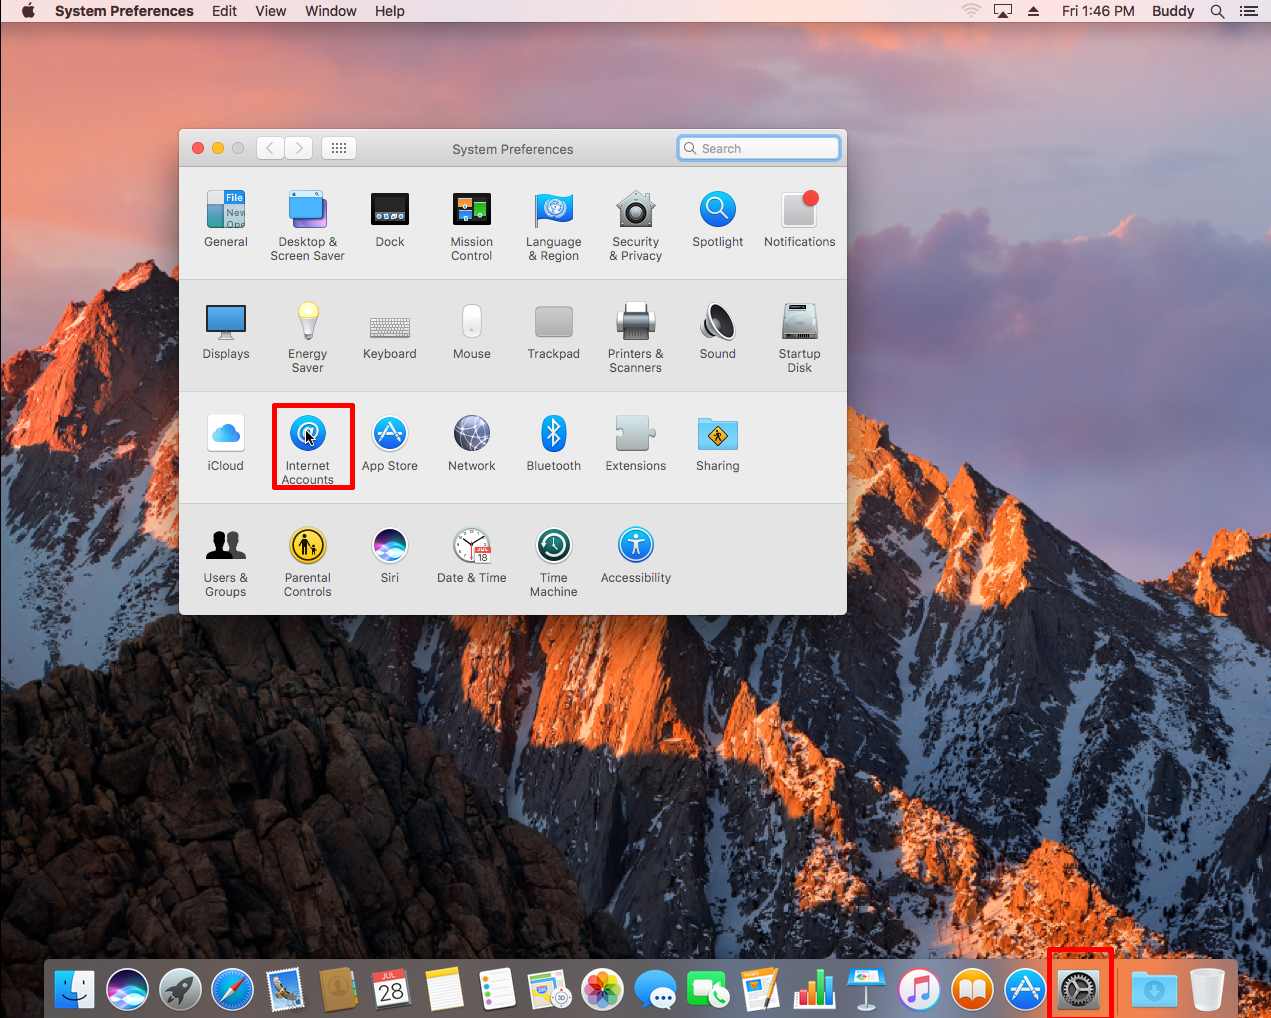
1. Choose “System Preferences”, and choose “Internet Accounts”
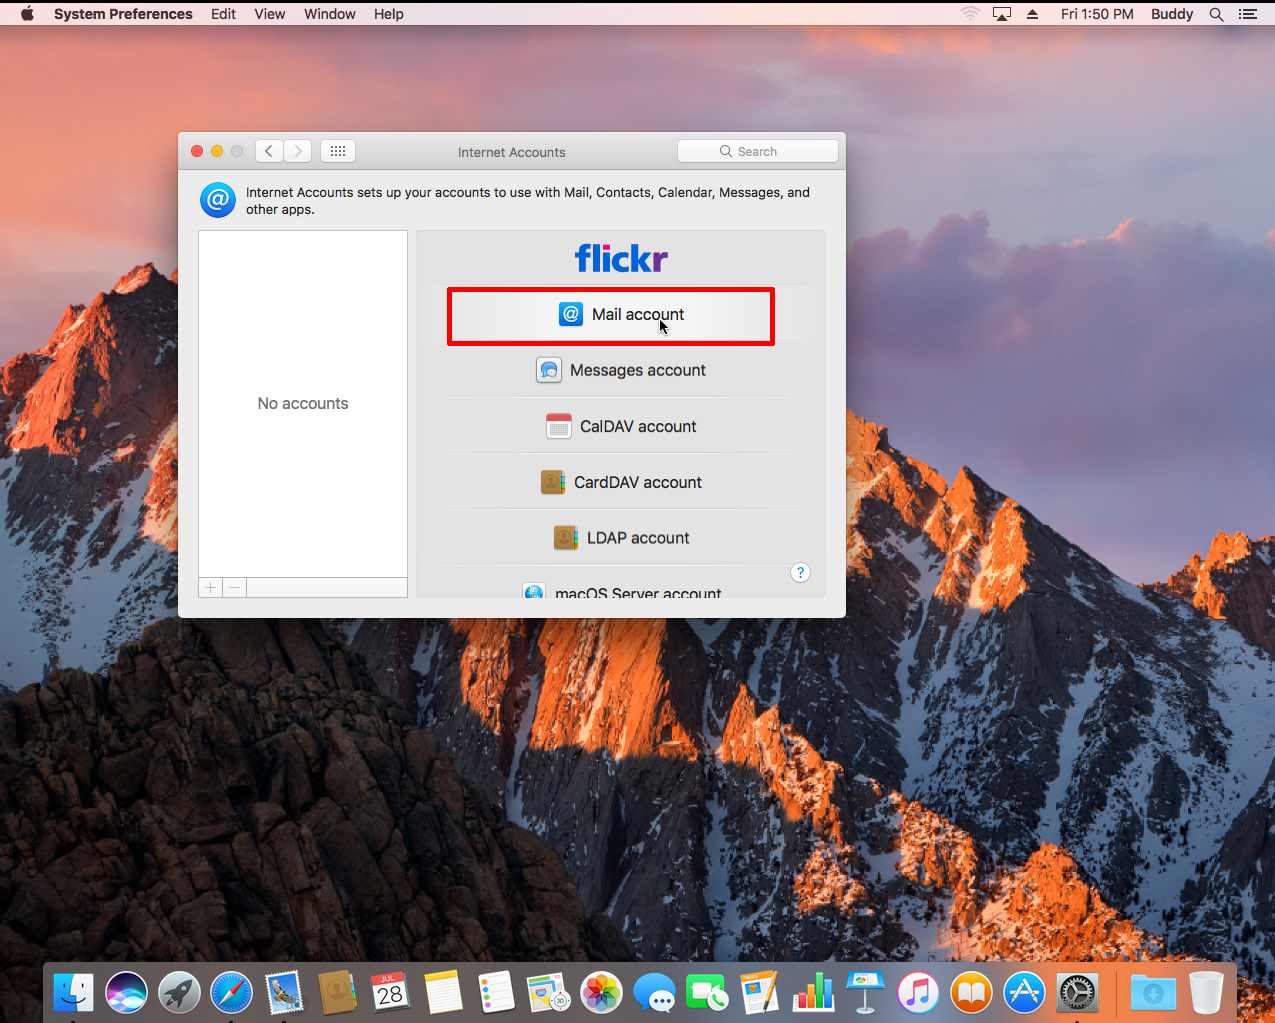
2. Choose “Add Other Account”

3. Choose “Mail account”
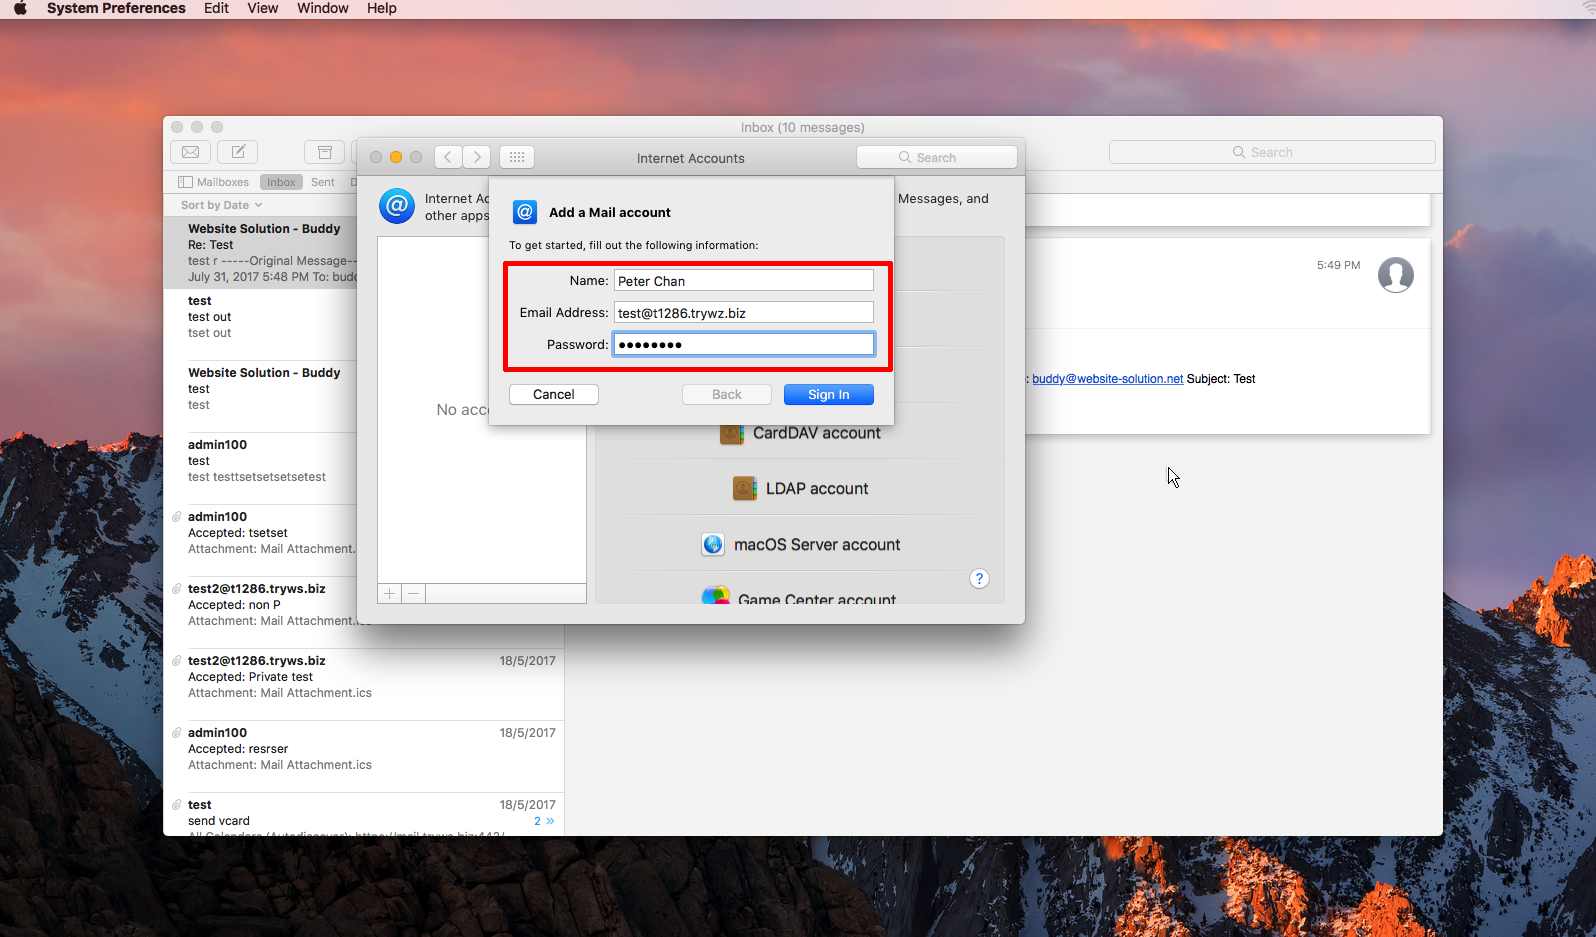
4.Input
Name : Your Name
Email Address : Your Email Address
Password : Your Email Password
and then “Sign In”
5.Then,
Email Address : same as above
User Name : Your email address
Password : Your email password
Account Type : IMAP
Incoming Mail Server : mail.group.com.hk (refer to account information email)
Outgoing Mail Server : mail.group.com.hk (refer to account information email)
Then, “Sign In”
* If you are using SmarterMail trial account, please replace “mail.group.com.hk” with “mail.tryws.biz

6. Choose ” Done ”

7. Back to main screen, choose “Mail”

8. Top menu, choose > Mail > Preferences

9. Choose “Server Settings” ,uncheck “Automatically Manage Connection Settings” ,
In [Incoming Mail Server], input –
Port : 993
Enable: “Use TLS/SSL”
Authentication : Password
In [Outgoing Mail Server], input –
Port : 465
Enable “Use TLS/SSL”
Authentication : Password
Then, save it.
